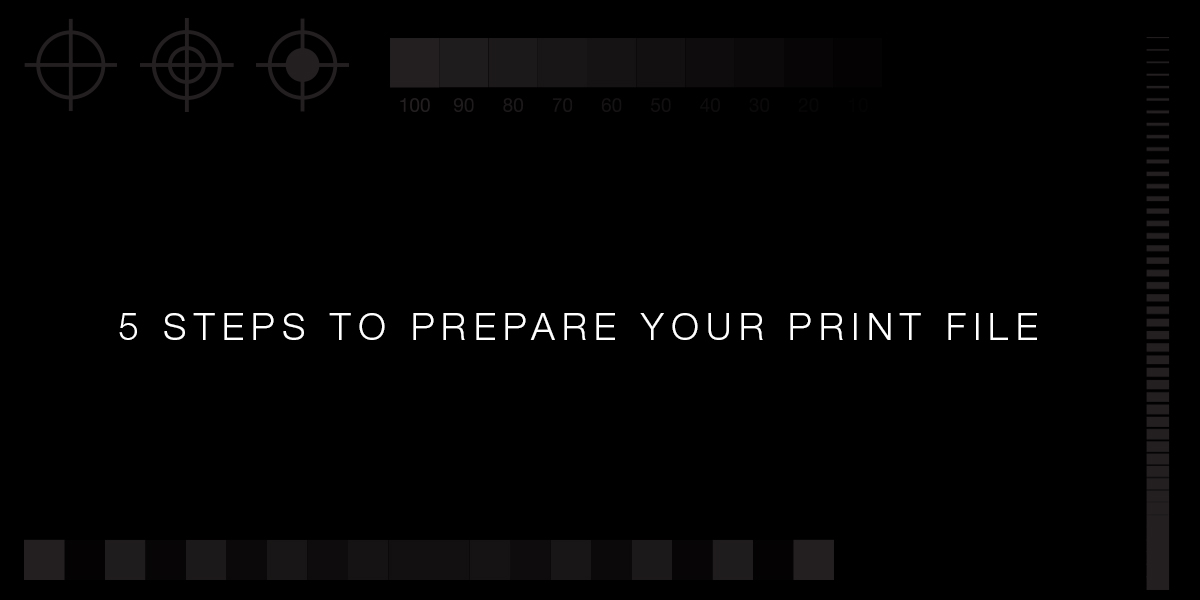
5 steps to prepare your print file
Step One
Depending on print method, make sure your design includes the proper colors – Ask yourself, is it one, two, three or four colors? If your document includes more than three colors, or is being printed digitally — you will want to change the swatches of spot colors, or any Pantones, included in your design to a Cyan, Magenta, Yellow and Black mix.
Step Two
Check your bleeds, although there is not an industry standard, your printer may have a specific preference. At Performance Press Inc. we prefer a .125” or larger.
Step Three
Check your margins (and we don’t mean butter :)) this is how close your text is to the edge of the paper. All text should be no closer to the edge than .125”. This helps eliminate the risk of any important information being trimmed off.
Step Four
Check any image resolutions. If your design includes images, try to include high resolution images. A good rule of thumb when printing images is to have them higher, or equal to, 300 dpi.
Step Five
Export according to your printers preference. At Performance Press Inc. we prefer high resolution PDF’s. JPG’s are acceptable, but can sometimes get reduced down in size through email or uploading.
Pro Tip
During your exporting process it’s important to double check that you’ve included crop marks and bleeds in your PDF. The printer will have a much easier time deciphering trim edges if your file includes both.
Pro Tip
One last step that often gets overlooked if you are emailing your file, check to see if your email is downsizing your file in any way. Lots of times we see low resolution files come through; however, it looks great on your screen! Often times, email is the culprit. Depending on what email provider you have, you can find these preferences in your settings.
Time to send to the printer!